Step and repeat designs are a timeless and visually striking way to enhance branding and create standout backgrounds for events, red carpets, and photo booths. While Adobe Illustrator is a powerful tool for designing step and repeat patterns, our Step and Repeat Maker Tool offers a faster and more user-friendly alternative—no advanced design skills required! In this blog post, we’ll guide you through a few different methods, including using Adobe Illustrator for a traditional approach or our Step and Repeat Maker Tool for a quick and seamless experience.
Step 1: Choose your Canvas Size
Select the appropriate Canvas Size for your banner. Available sizes include 8’x8’ square banners and 10’x8’, 15’x8′, 20’x8’, and 30’x8’ for rectangular backdrops.
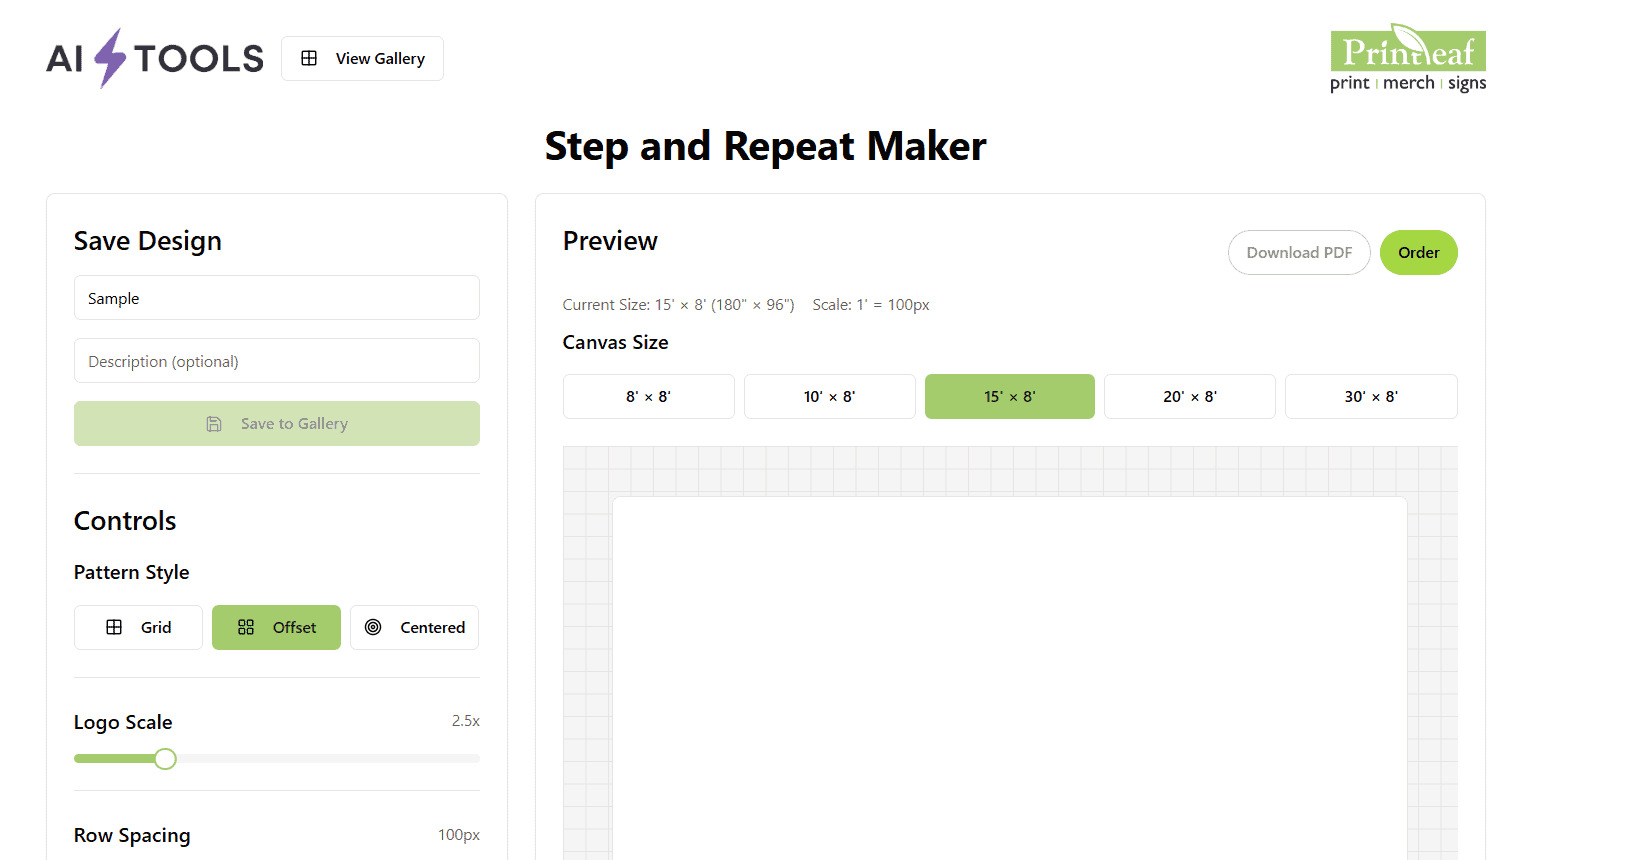
Step 2: Upload Your Logo(s)
Click the Upload Logo button to add your logo(s). You may upload up to five logos and arrange them as needed.
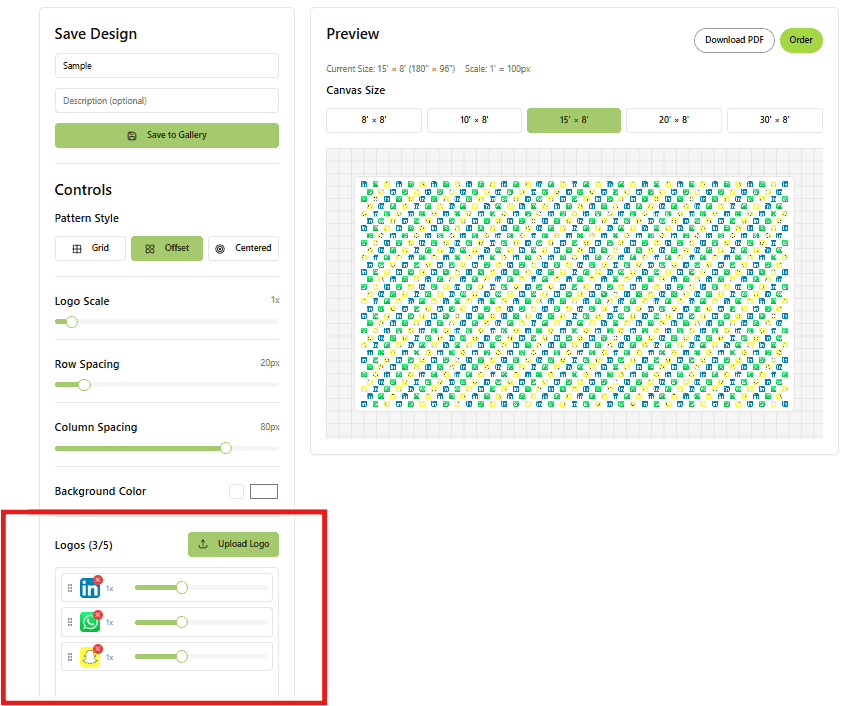
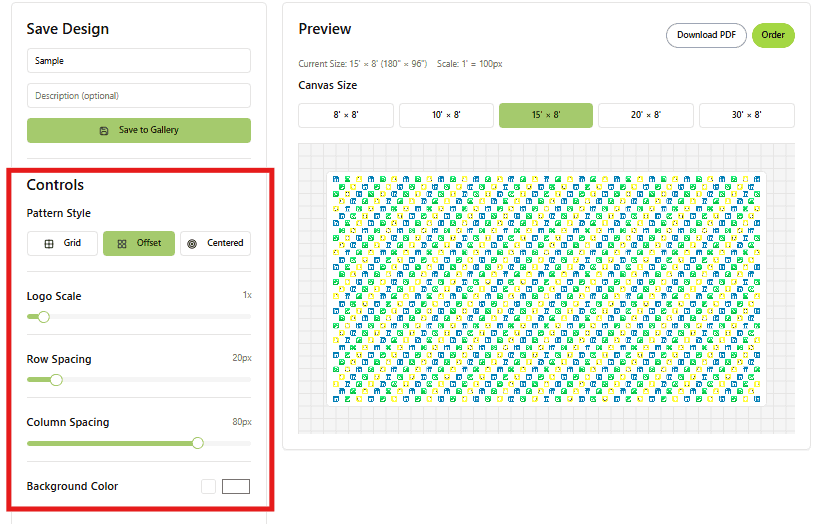
Step 3: Adjust Your Design Settings
Under the Controls section, customize your banner by selecting your Pattern Style, Logo Scale, Spacing, and Background Color:
- Pattern Style: Choose between Grid (evenly spaced), Offset (staggered pattern), or Centered (single logo in the middle).
- Logo Scale: Adjust the size of your logos.
- Row and Column Spacing: Modify the vertical and horizontal spacing between logos.
- Background Color: Choose a white or custom-colored background.
Once satisfied with your design, you can either Download PDF to save a preview of your banner or click Order to proceed with printing.
Method 2: Using Templates to Create Your Design
Method 3: Make It From Scratch
Step 1: Set Up Your Document
Start by opening Adobe Illustrator and creating a new document. Choose the dimensions based on your intended use – common sizes for step and repeat backdrops include 6’x6’, 7’x7’, and 8’x8’ for square banners and 10’x8’, 20’x8’, and 30’x8’ for rectangular backdrops.
Step 2: Design Your Pattern
Create the base design or logo that you want to repeat across the backdrop. Ensure that it’s appropriately sized and proportioned for the dimensions of your document.

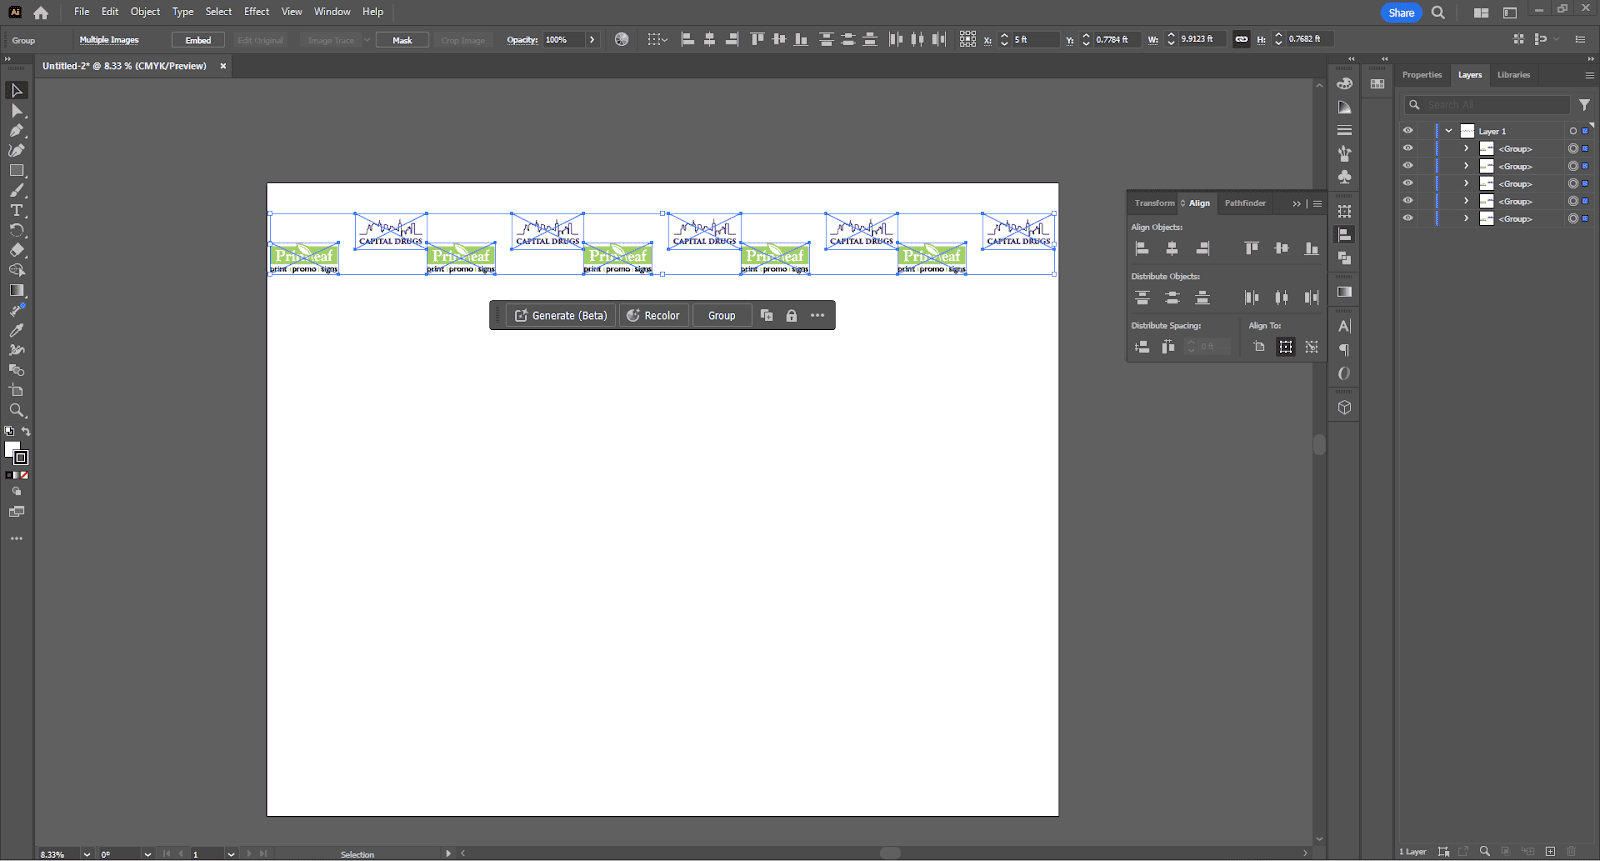
Step 3: Group Your Design Elements
Select all the elements of your design and group them together (Ctrl + G or Command + G on Mac). This grouping makes it easier to manipulate and duplicate the entire design later.
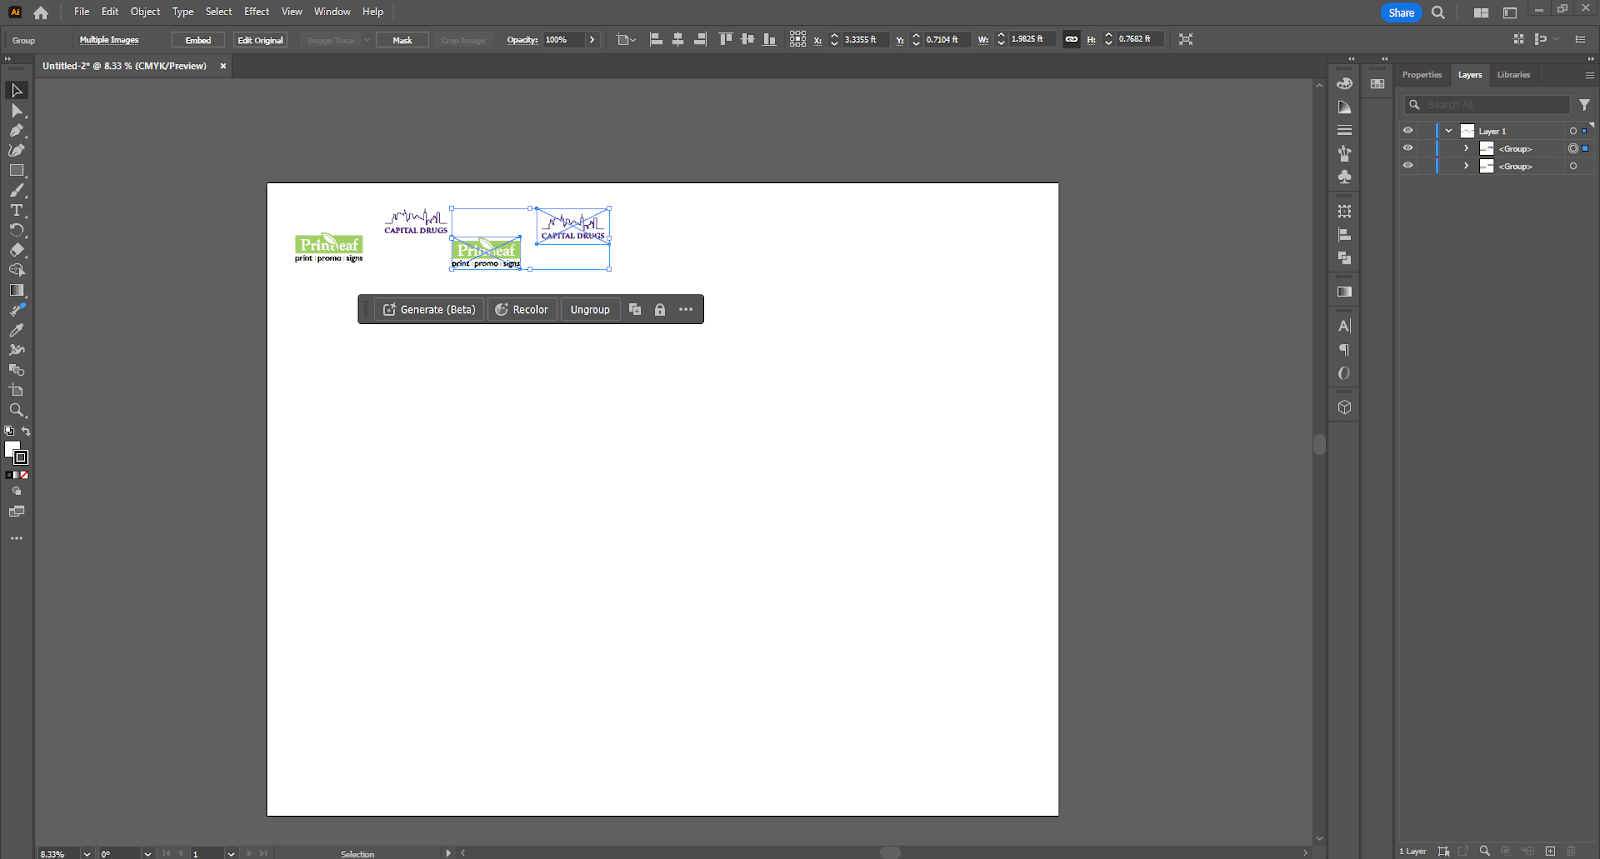
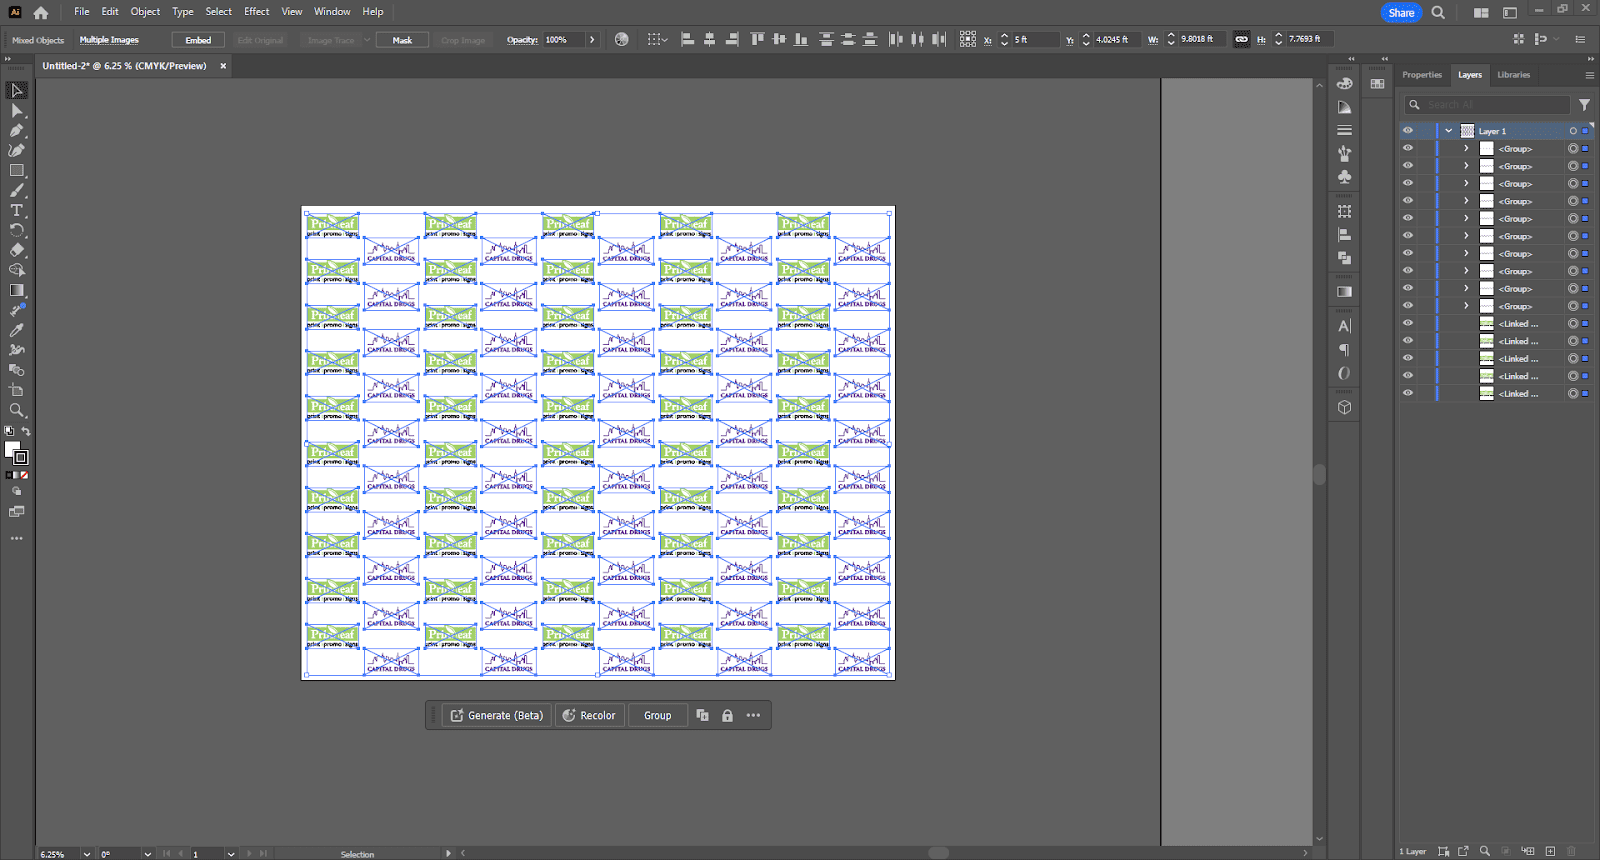
Step 4: Set Up the Step and Repeat
- Open the Transform Panel: Go to Window > Transform to open the Transform panel.
- Enter Horizontal and Vertical Offsets: In the panel, enter the desired horizontal and vertical offsets for your step and repeat. This defines the distance between each repetition.
- Copy and Paste in Place: Copy your grouped design (Ctrl + C or Command + C on Mac) and paste it in place (Ctrl + F or Command + F on Mac).
- Repeat Transformation: Press Ctrl + D (Command + D on Mac) to repeat the transformation, duplicating the design at the specified offsets.
Step 5: Check and Adjust
Review your step and repeat design to ensure that it seamlessly flows across the document. Make any necessary adjustments to the spacing or design elements as needed.
Step 6: Expand and Export
Once satisfied, select all (Ctrl + A or Command + A on Mac) and go to Object > Expand. This converts the repeated design into individual objects. Now, you can export your step and repeat design in the desired format for printing.

Creating a step and repeat design in Adobe Illustrator is a powerful skill for designers and event planners alike. Whether you’re enhancing your brand presence at an event or creating a stunning photo backdrop, Illustrator provides the tools to make your vision a reality. Experiment with different designs, play with spacing, and watch as your step and repeat backdrop becomes a visual masterpiece. Elevate your events with the artistry of Adobe Illustrator!
Banner Printing Design event promotion nyc Fabric Banners Large Format Printing promotional products Trade Shows
Last modified: March 20, 2025